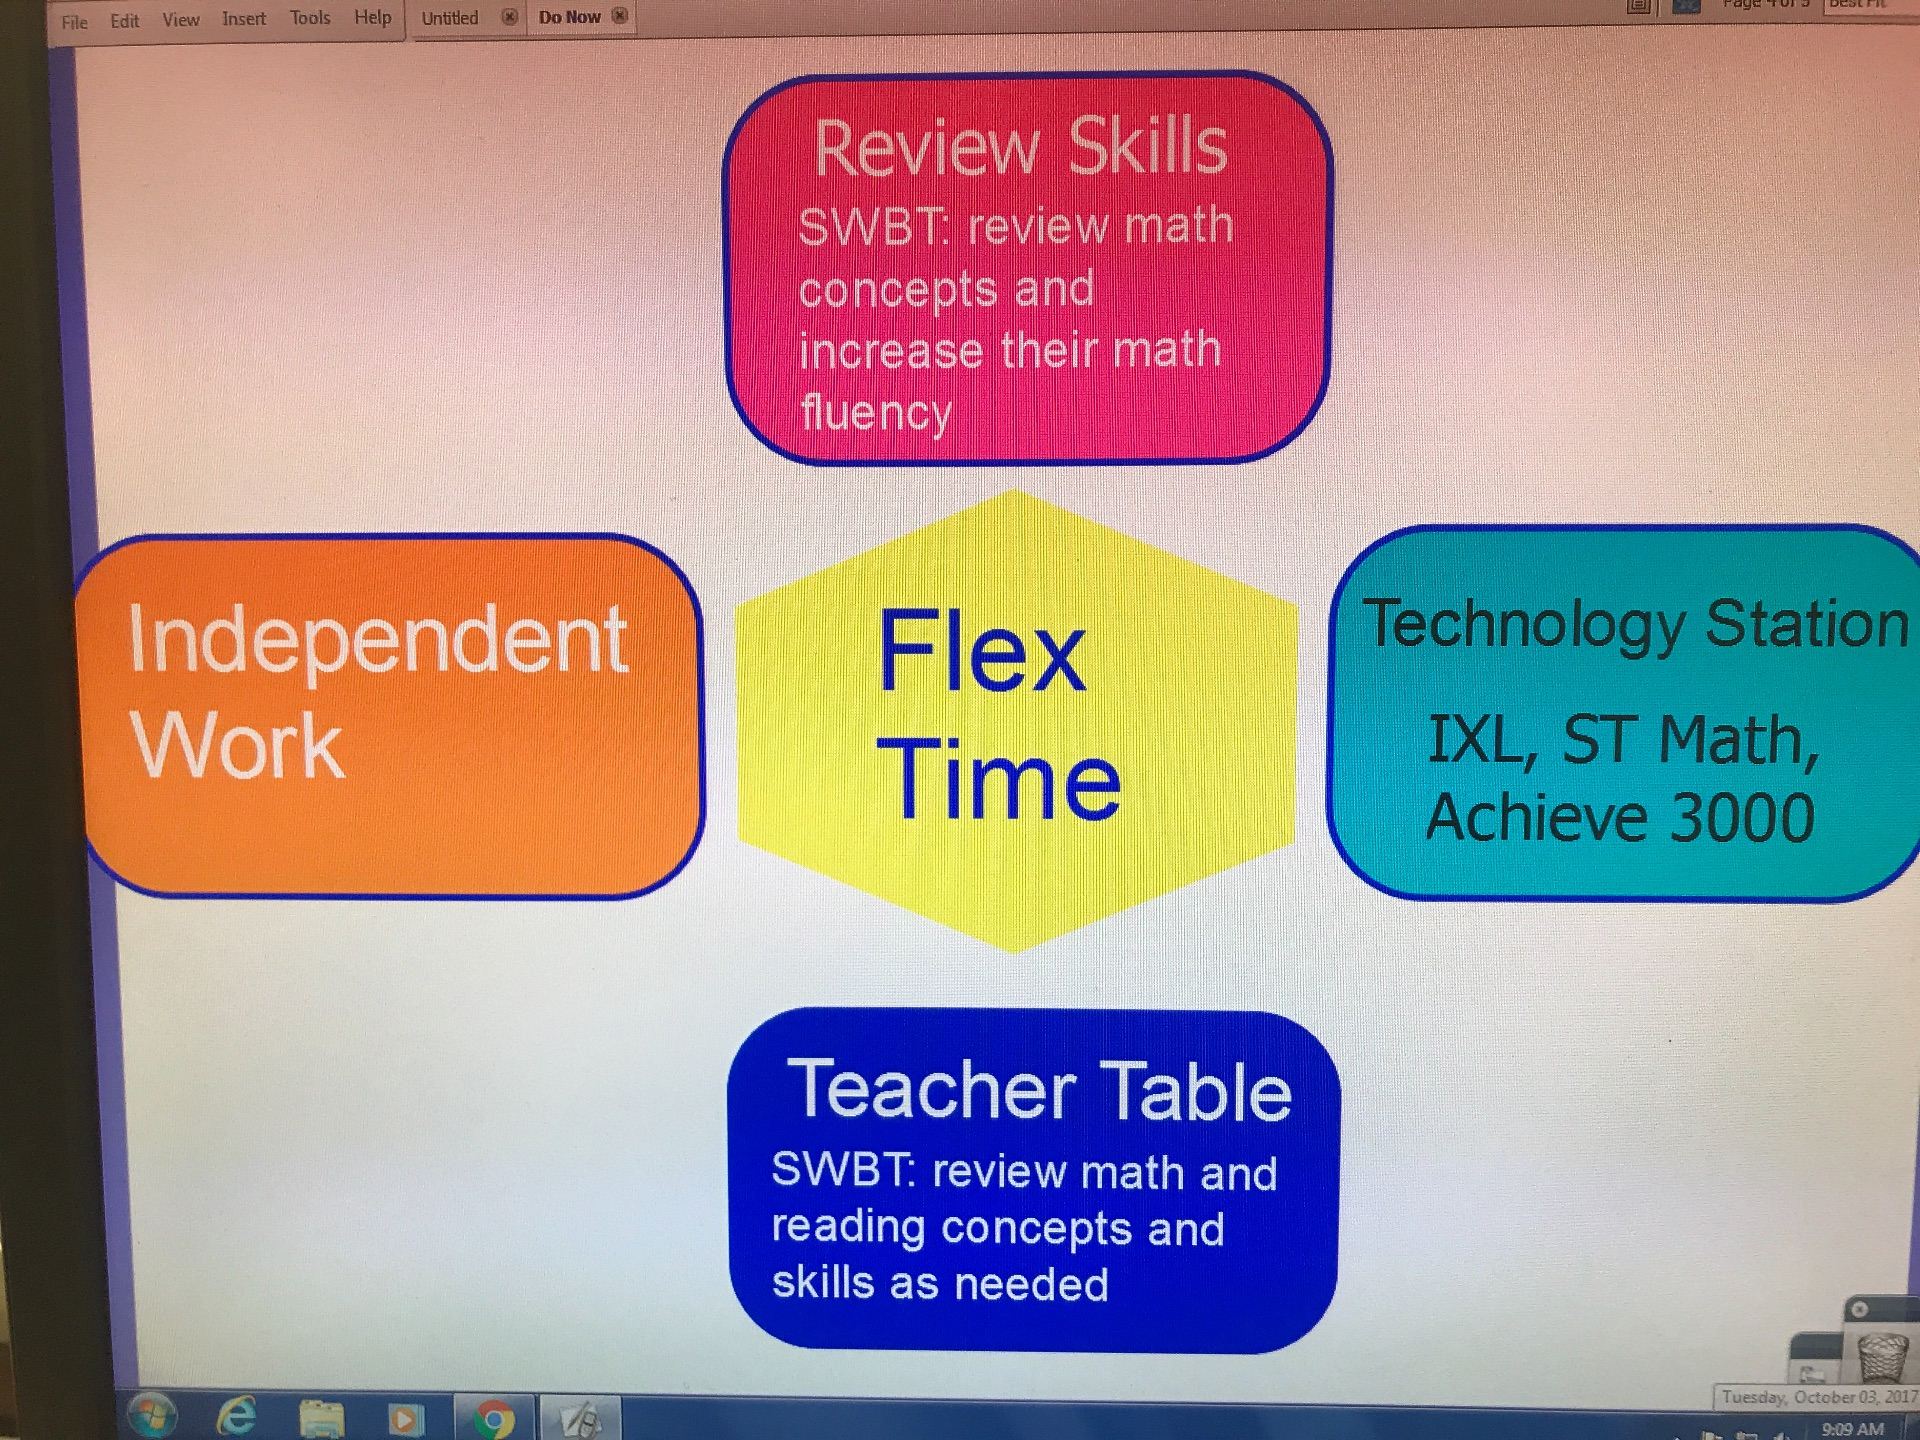
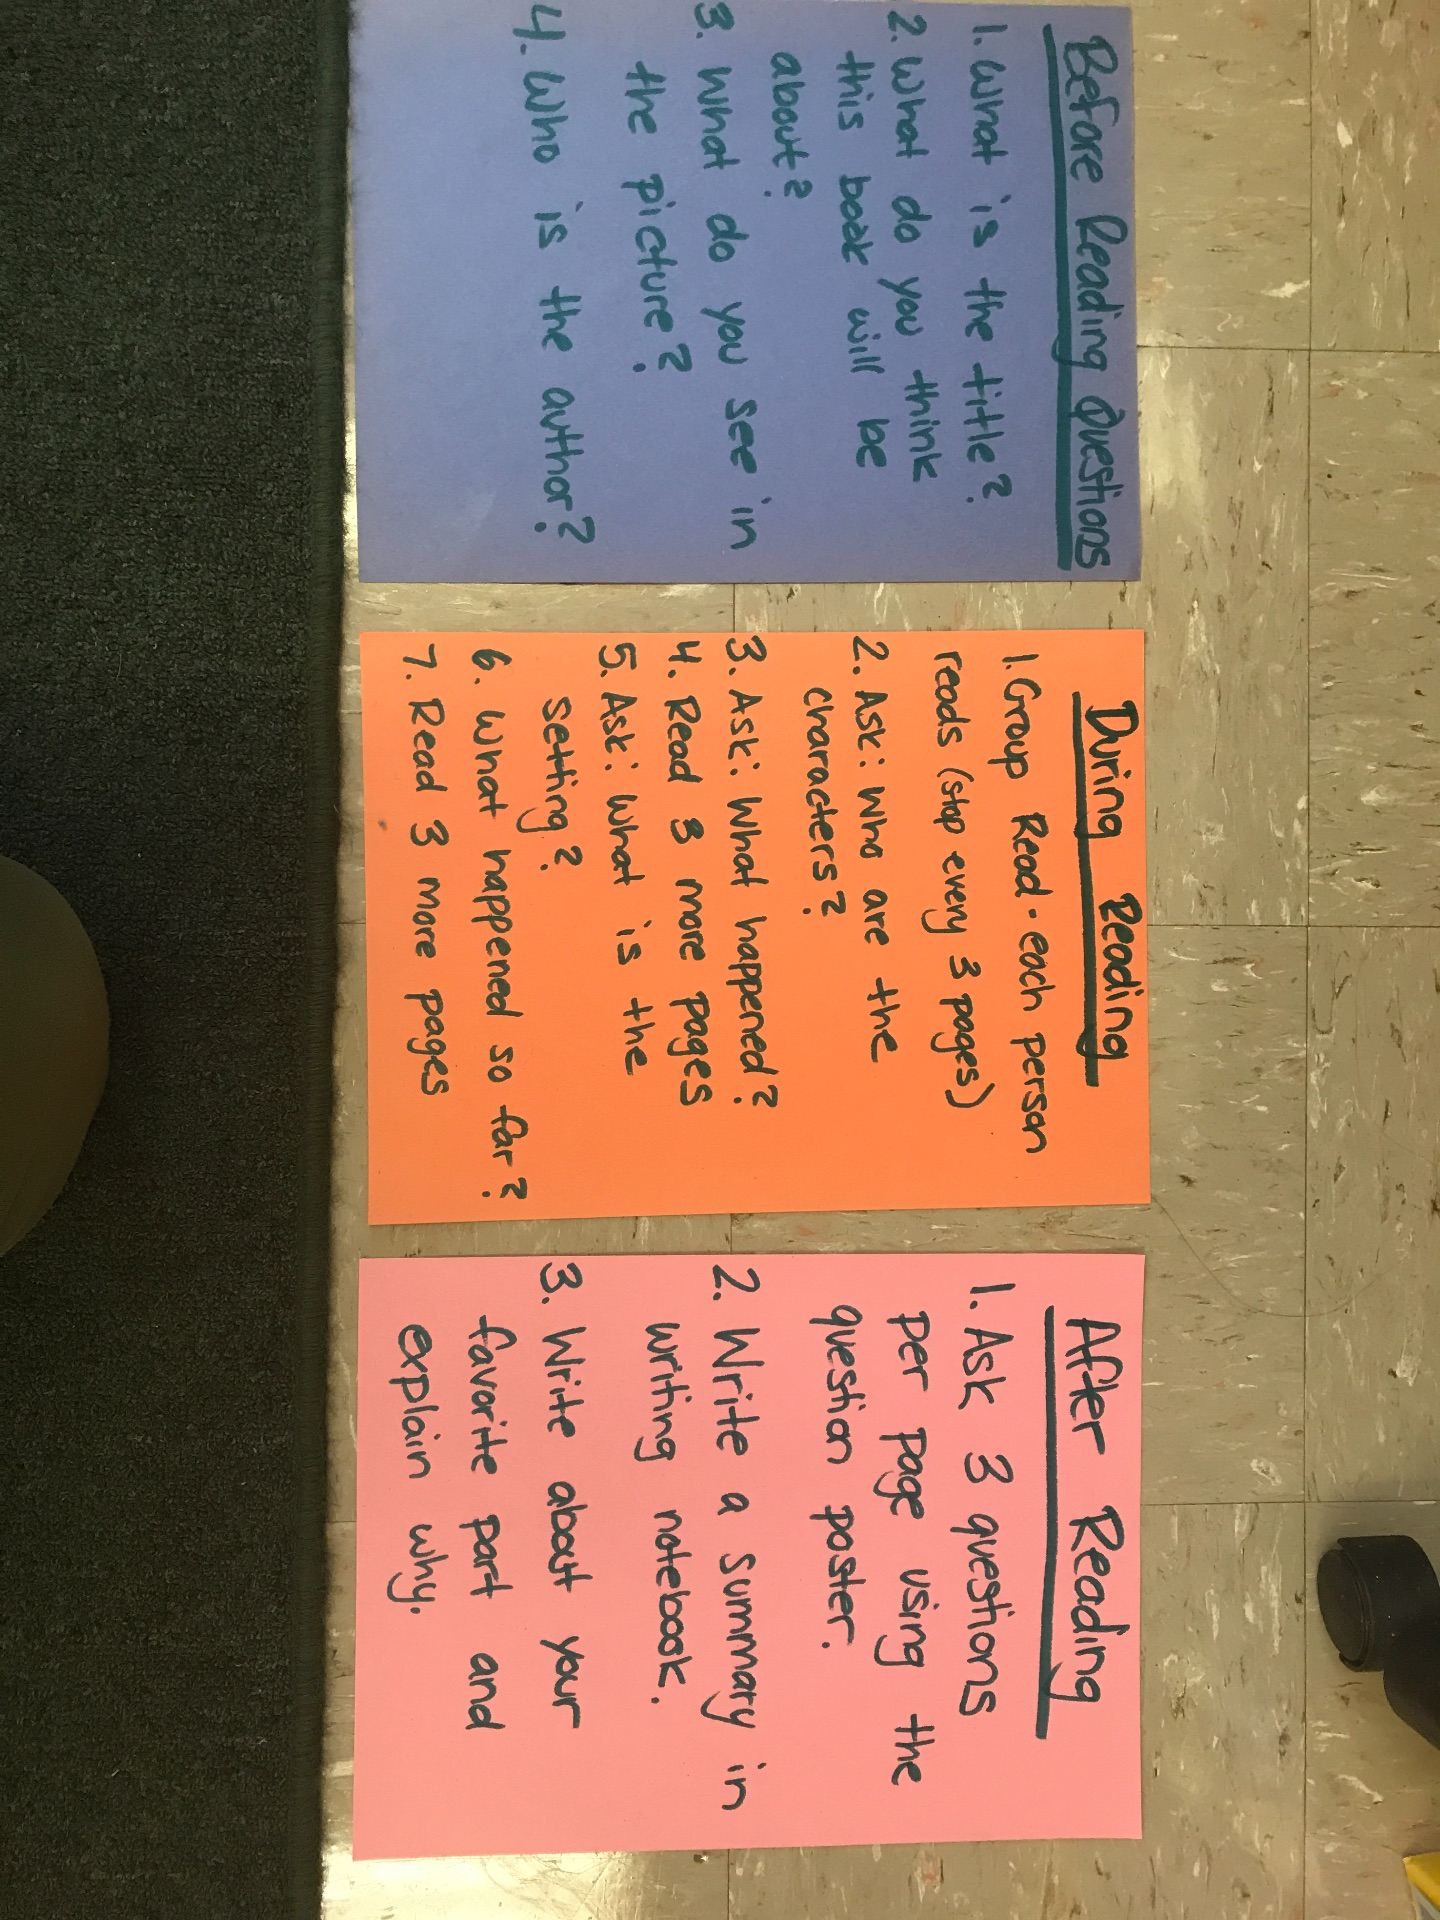
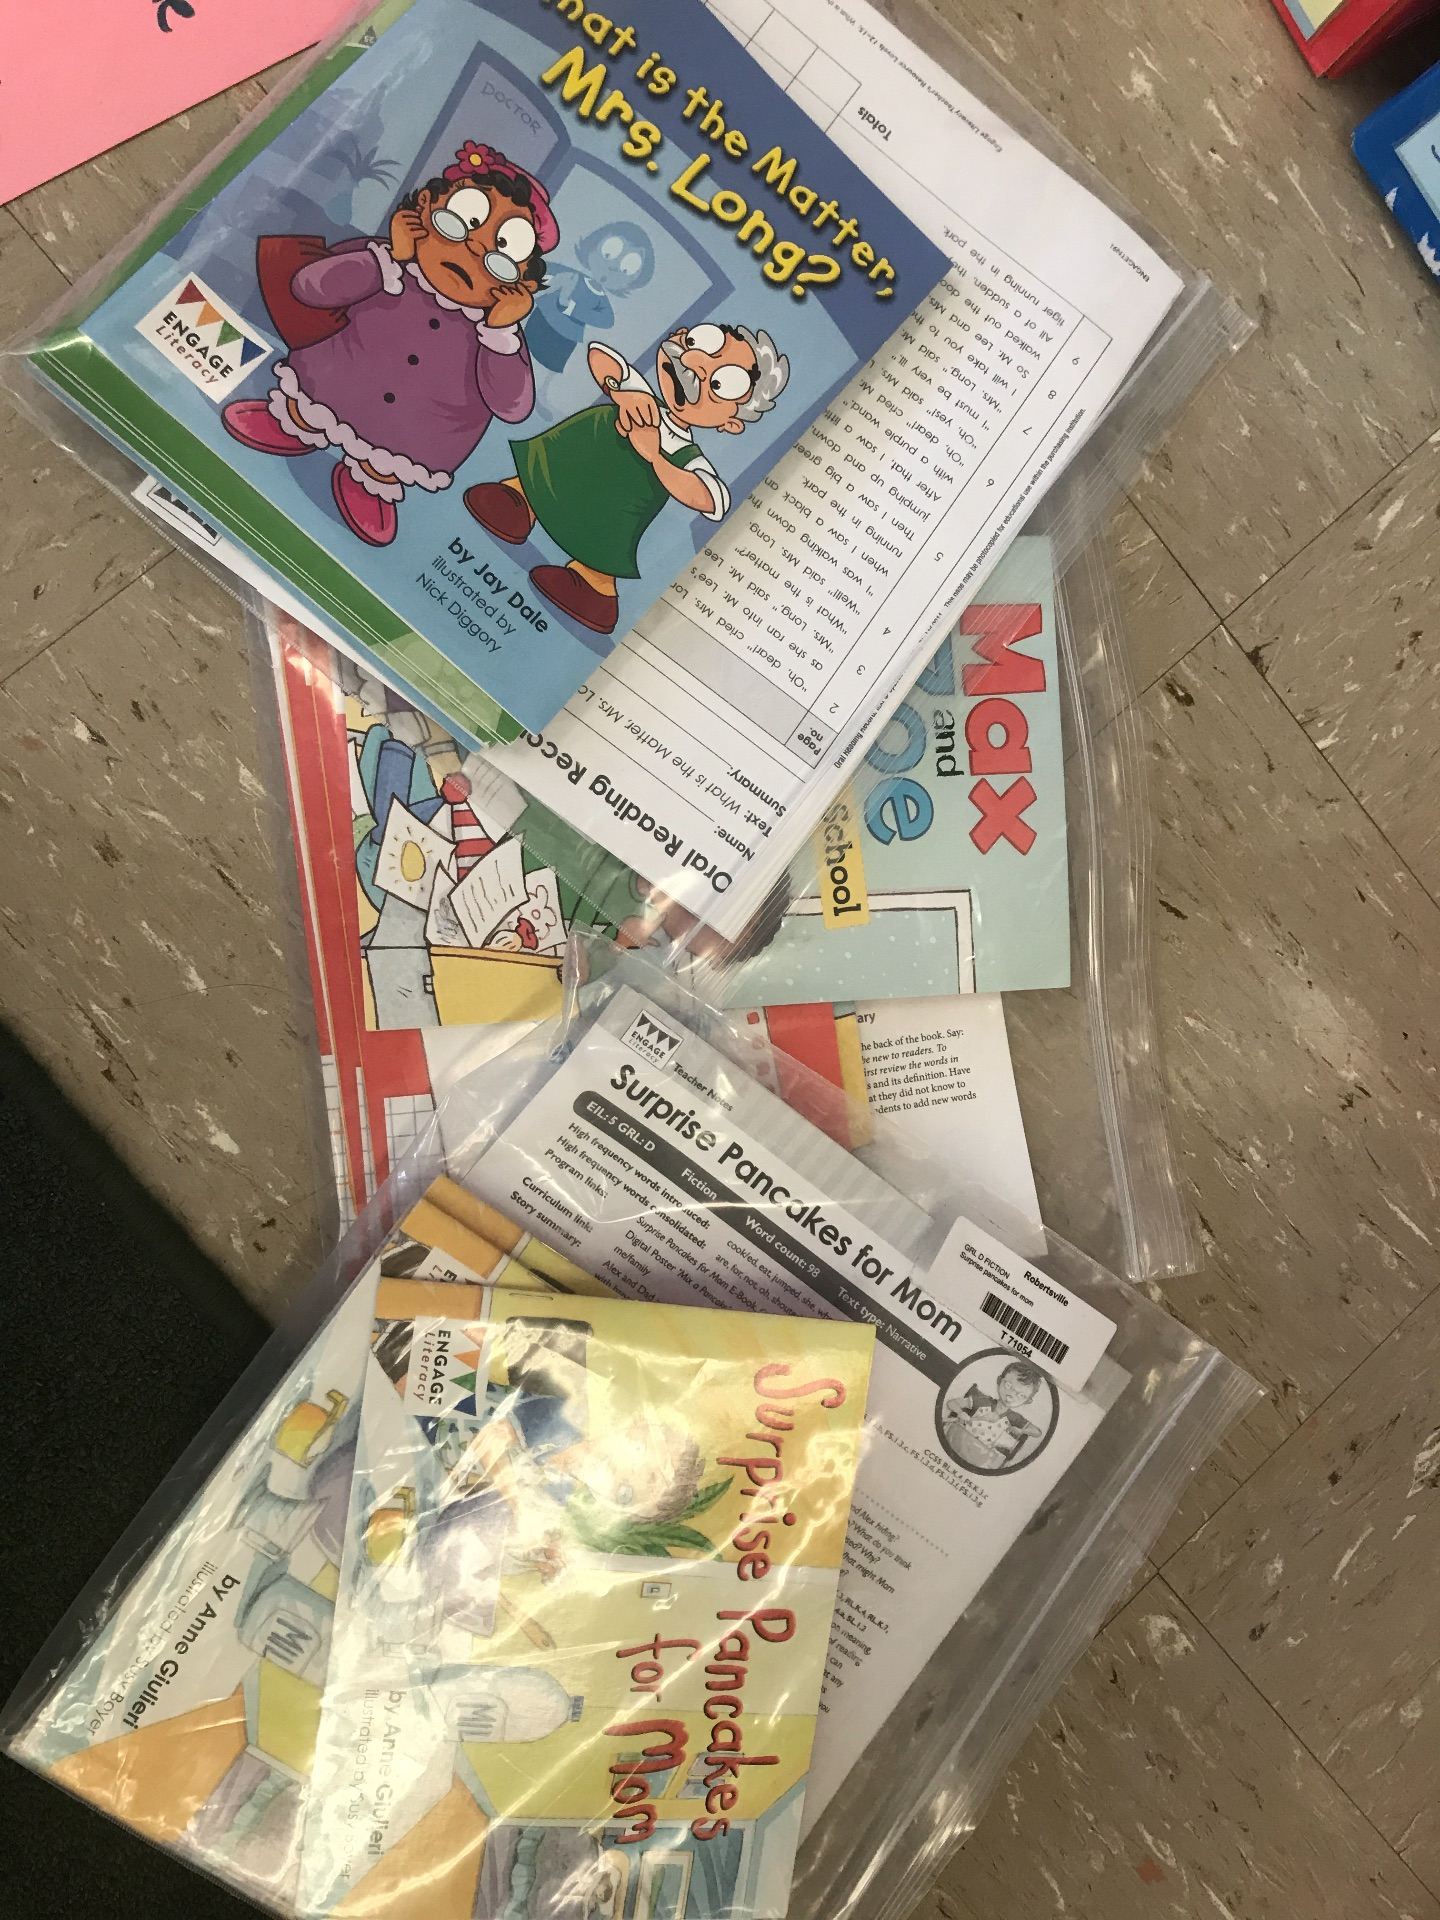
Self-assessments help students think about their own learning. It encourages responsibility, active participation, and critical reflection. In addition, it can strengthen a student’s judgment skill and provide the opportunity for a change in performance. When an adult enters the workforce, it is assumed that one understands what is expected of them. As a lifelong learner, a student must start by being able to identify the objective of the lesson and then judge if he/she met the expected goal. Since teachers are constantly striving for their students to be active learners, self-assessment is a critical component in the classroom, which is why the Danielson model (the current model used in various states to assess teacher effectiveness) includes student self-assessment in a lesson. A lot of teachers, however, struggle to find ways to get students to self-assess after or during a subject period, especially when a student has a language weakness. In my classroom, I have found that assessment cards guide my students through the self-assessment process successfully. When first teaching the self-assessment routine, I write the objective at the top of the card with the benchmarks that help guide the conversation. For example, when reading a story, my students need to ask and answer questions about the story. To do this, they must use question words and use details from the text to support their answer. An example of a card I would use at my reading center is below. 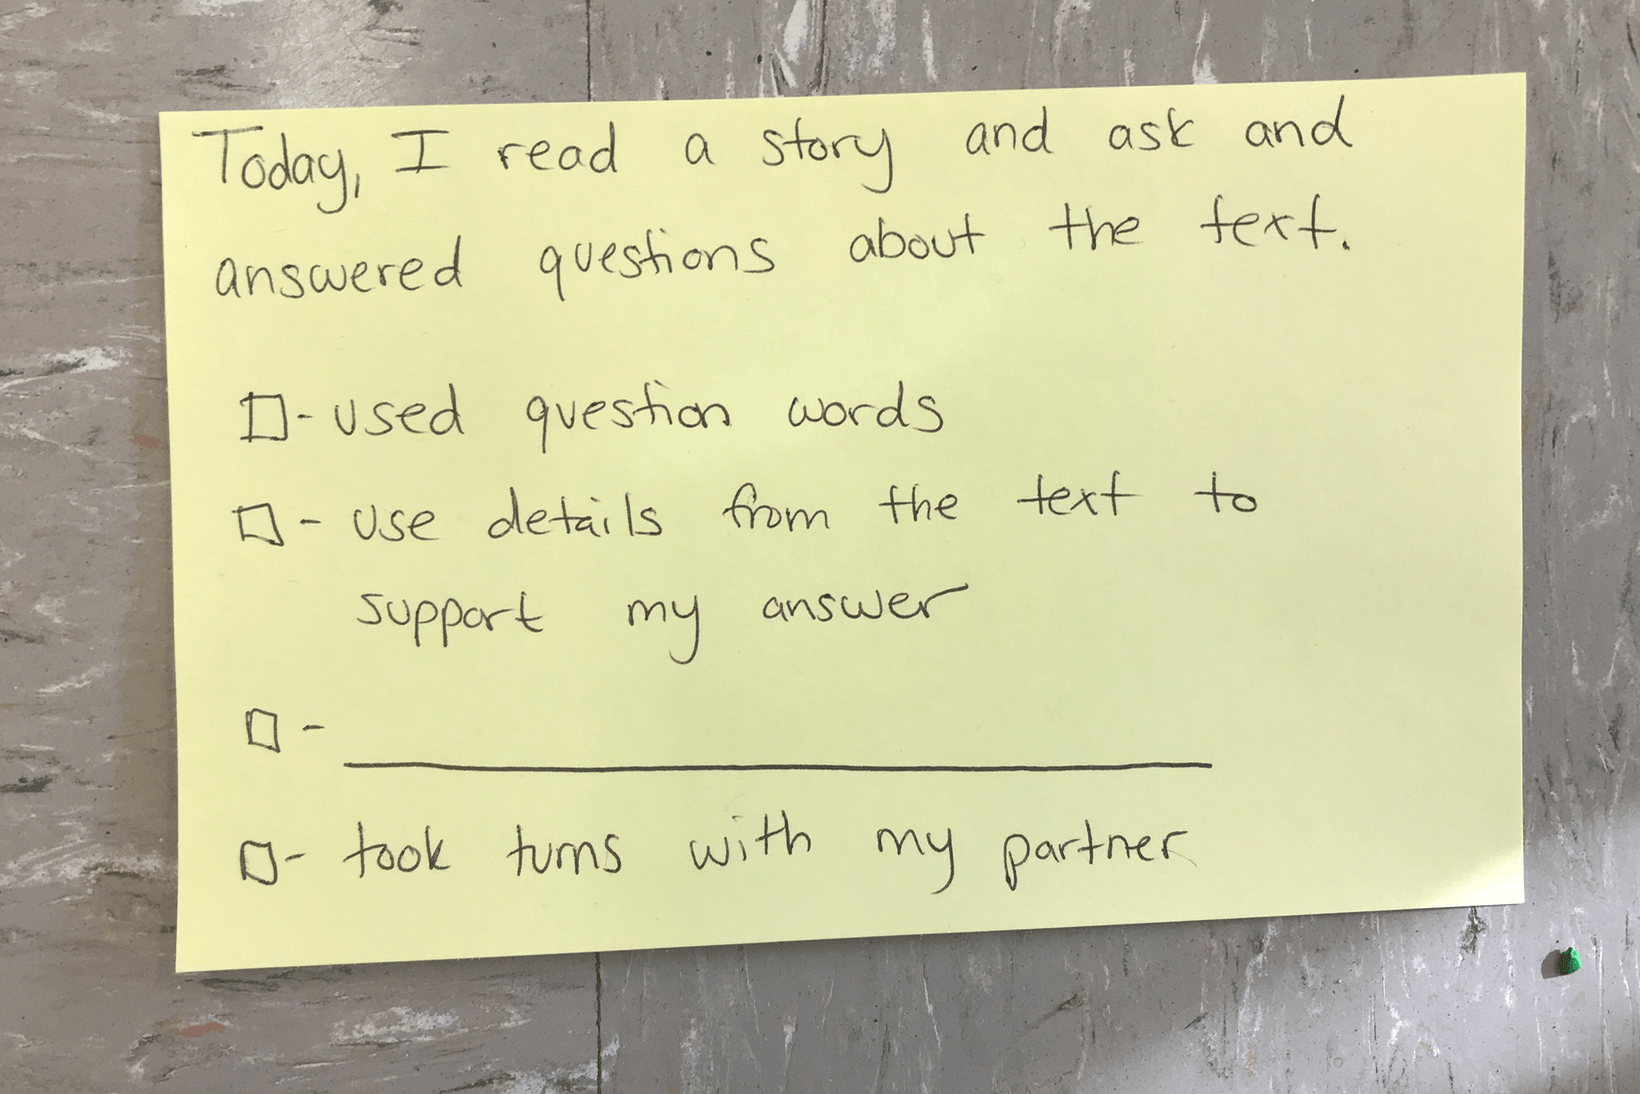 Before starting my lesson, I present the yellow card with the objective as I state our goal (ie. reading a story and asking and answering questions). This card is multi-purposeful since it clearly states the objective, states what is needed to meet the objective, and serves as a visual model of what I expect from my students. I leave this cards at the place where my students are engaging in the specific activity. An example of a math card is below:
 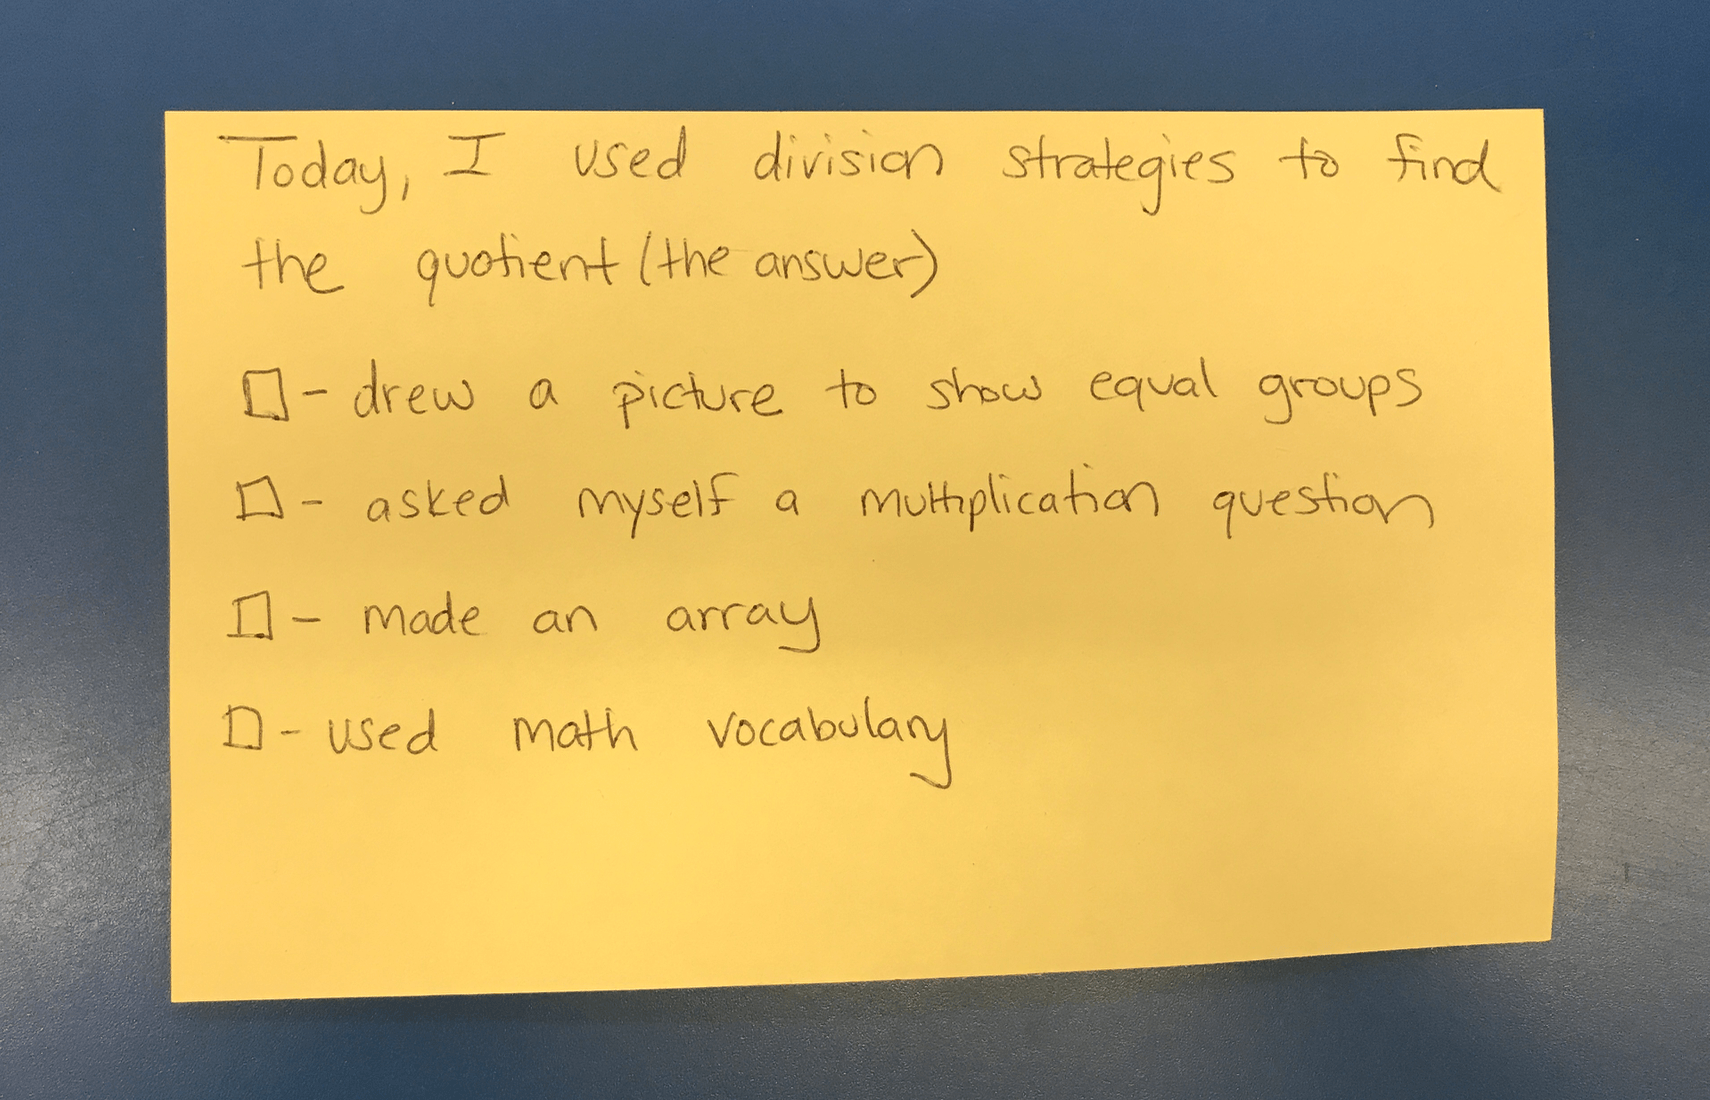 Then, we do our lesson and activity. At the end of our lesson, the students at the teacher table do a special clap. The rest of the class stops what they are doing and claps back. Then, the students at the teacher table say “Please assess your own learning. Give yourself a 1, 2, 3, or 4.” All students read their individual yellow objective card. For each benchmark objective, they state if they did what was written or not. To promote higher-level thinking and independence, I leave a benchmark with a blank line for students to fill in their own benchmark objective. Since my goal is to have my students do this independently, the written card serve as a model when I am teaching the process.
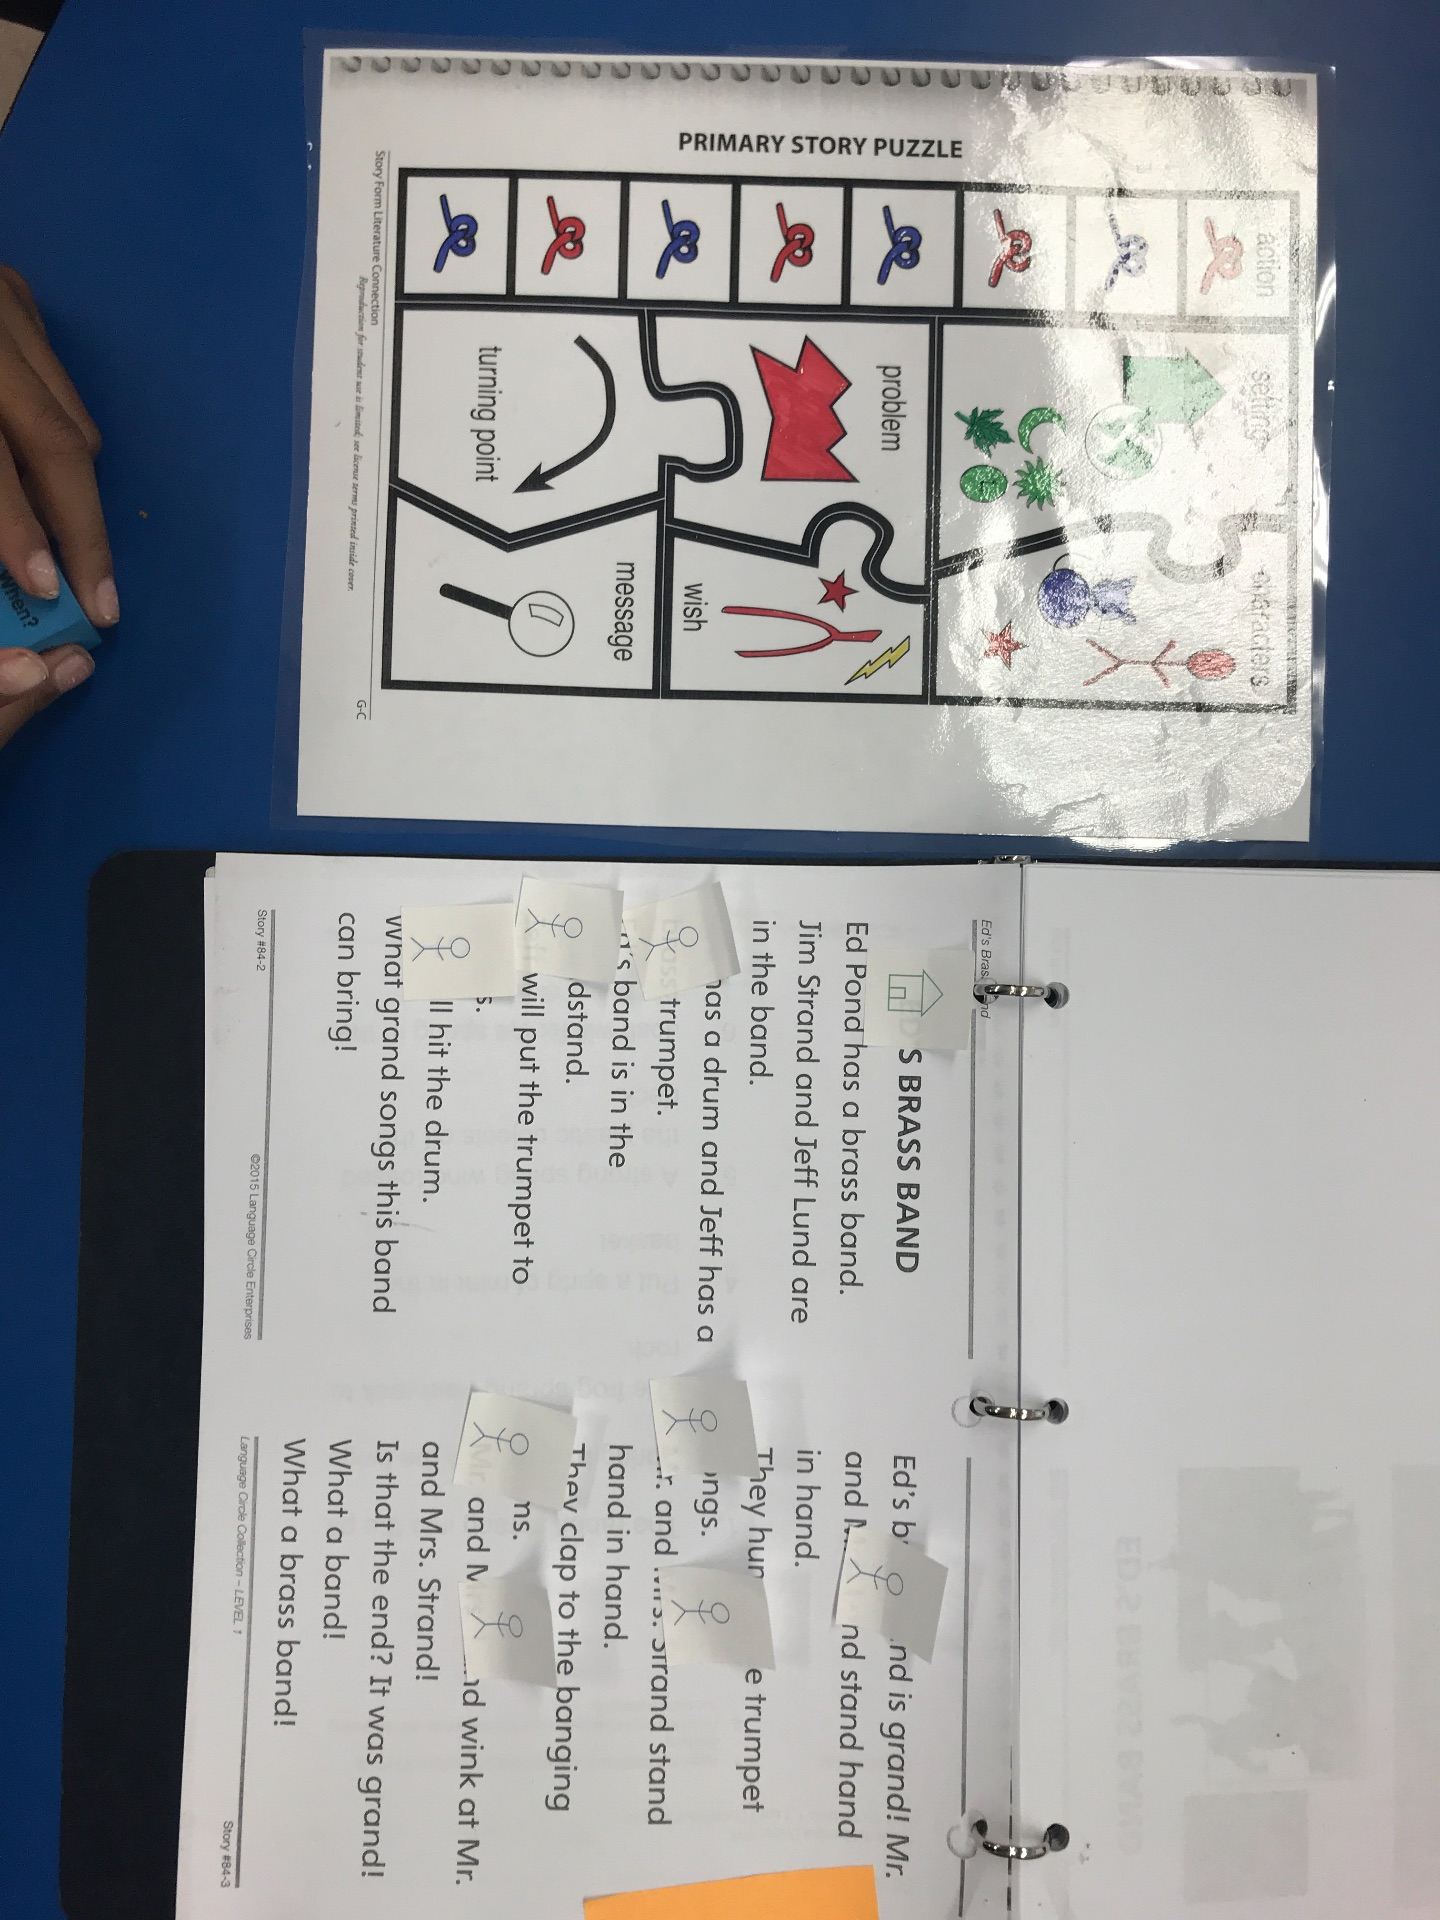
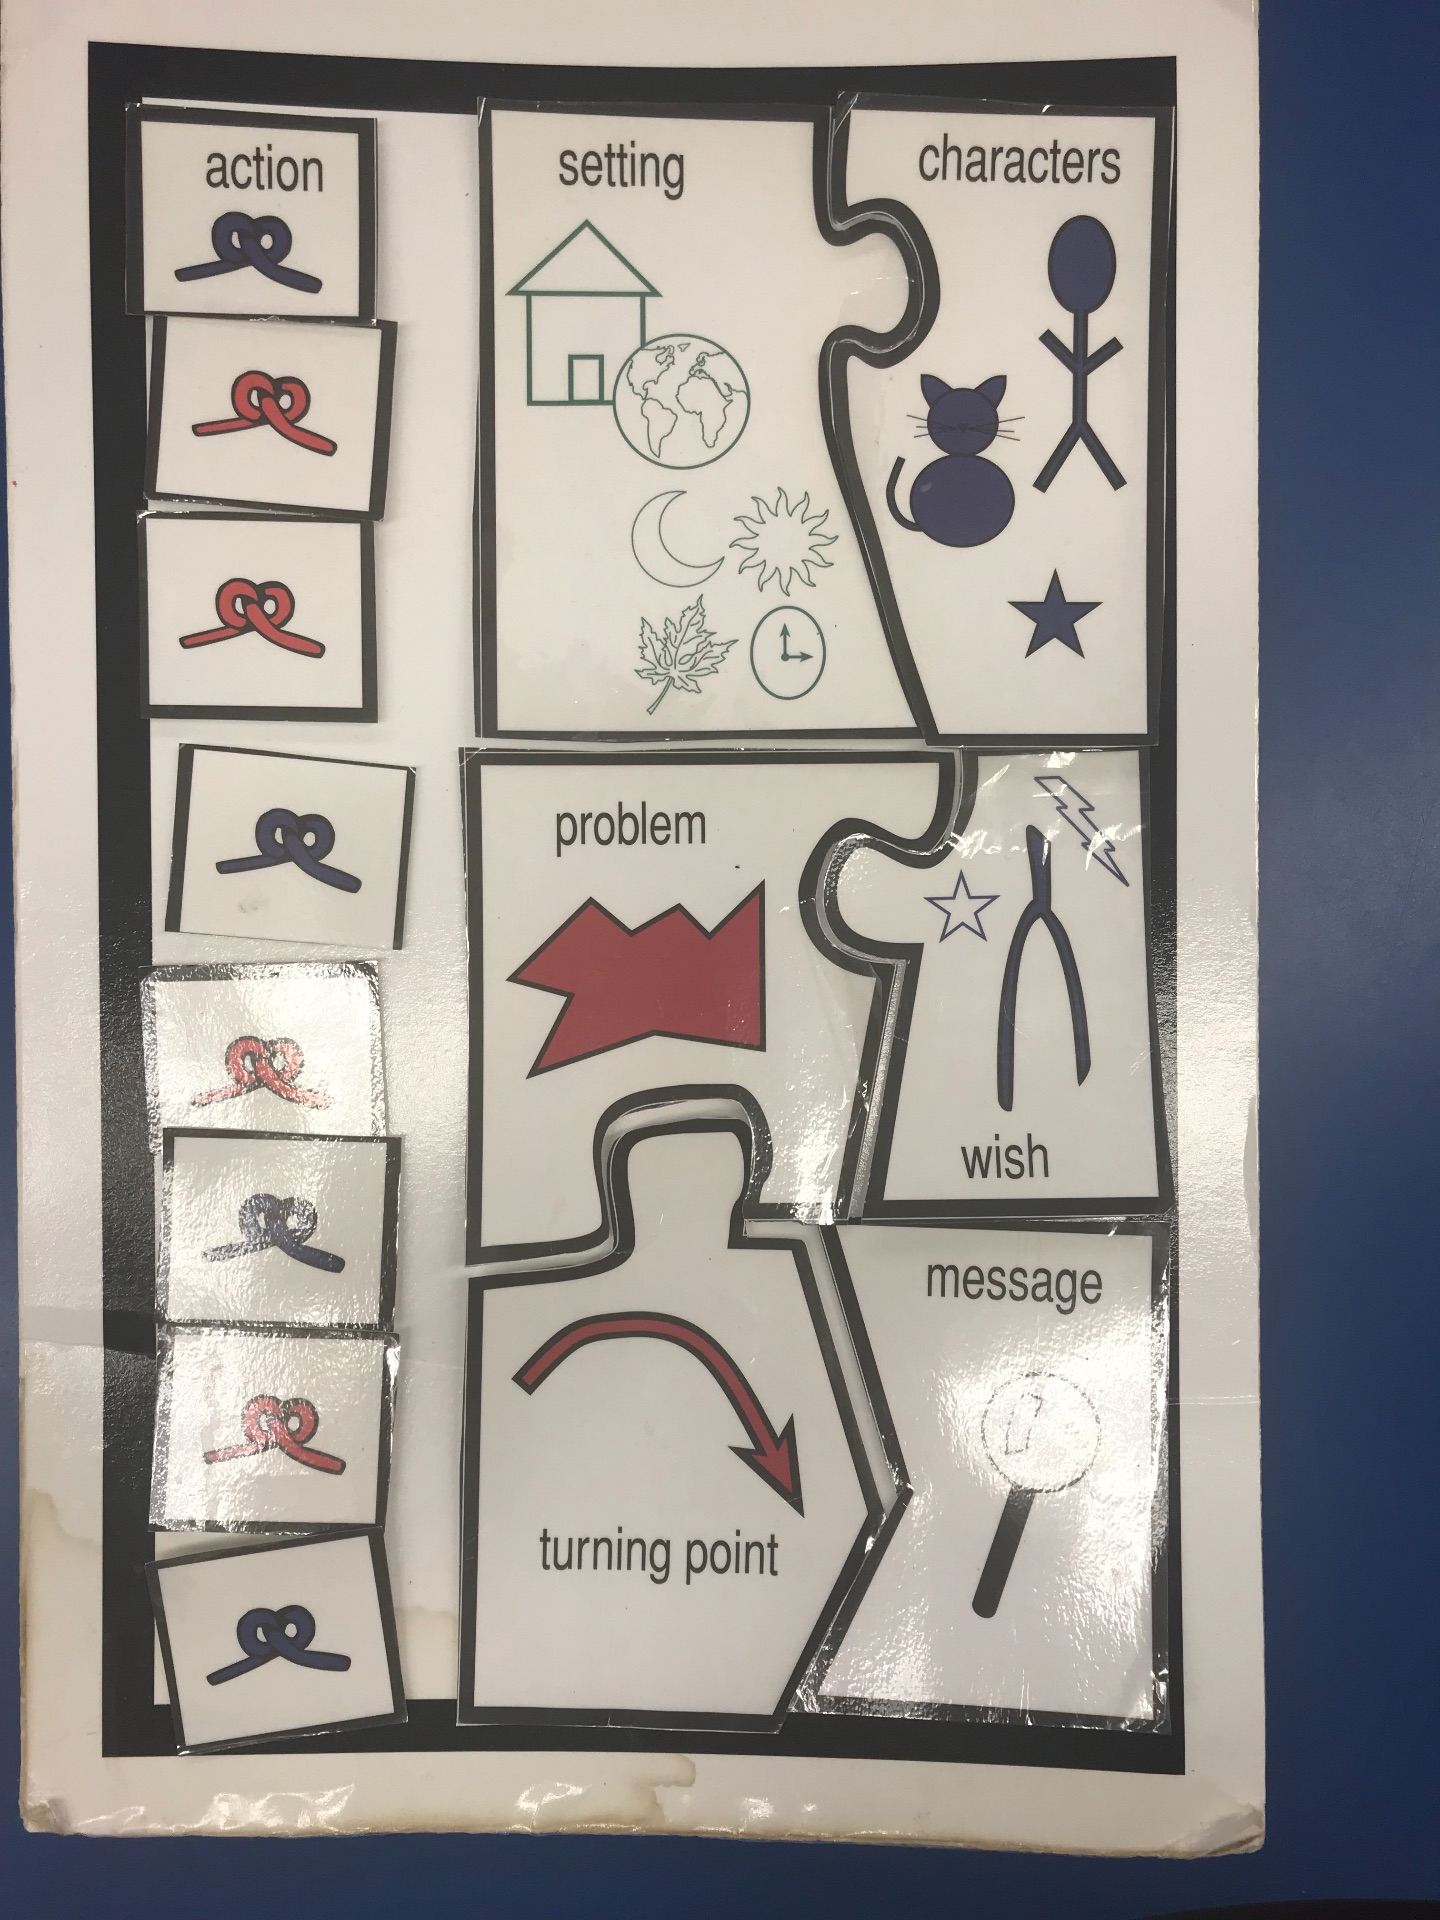
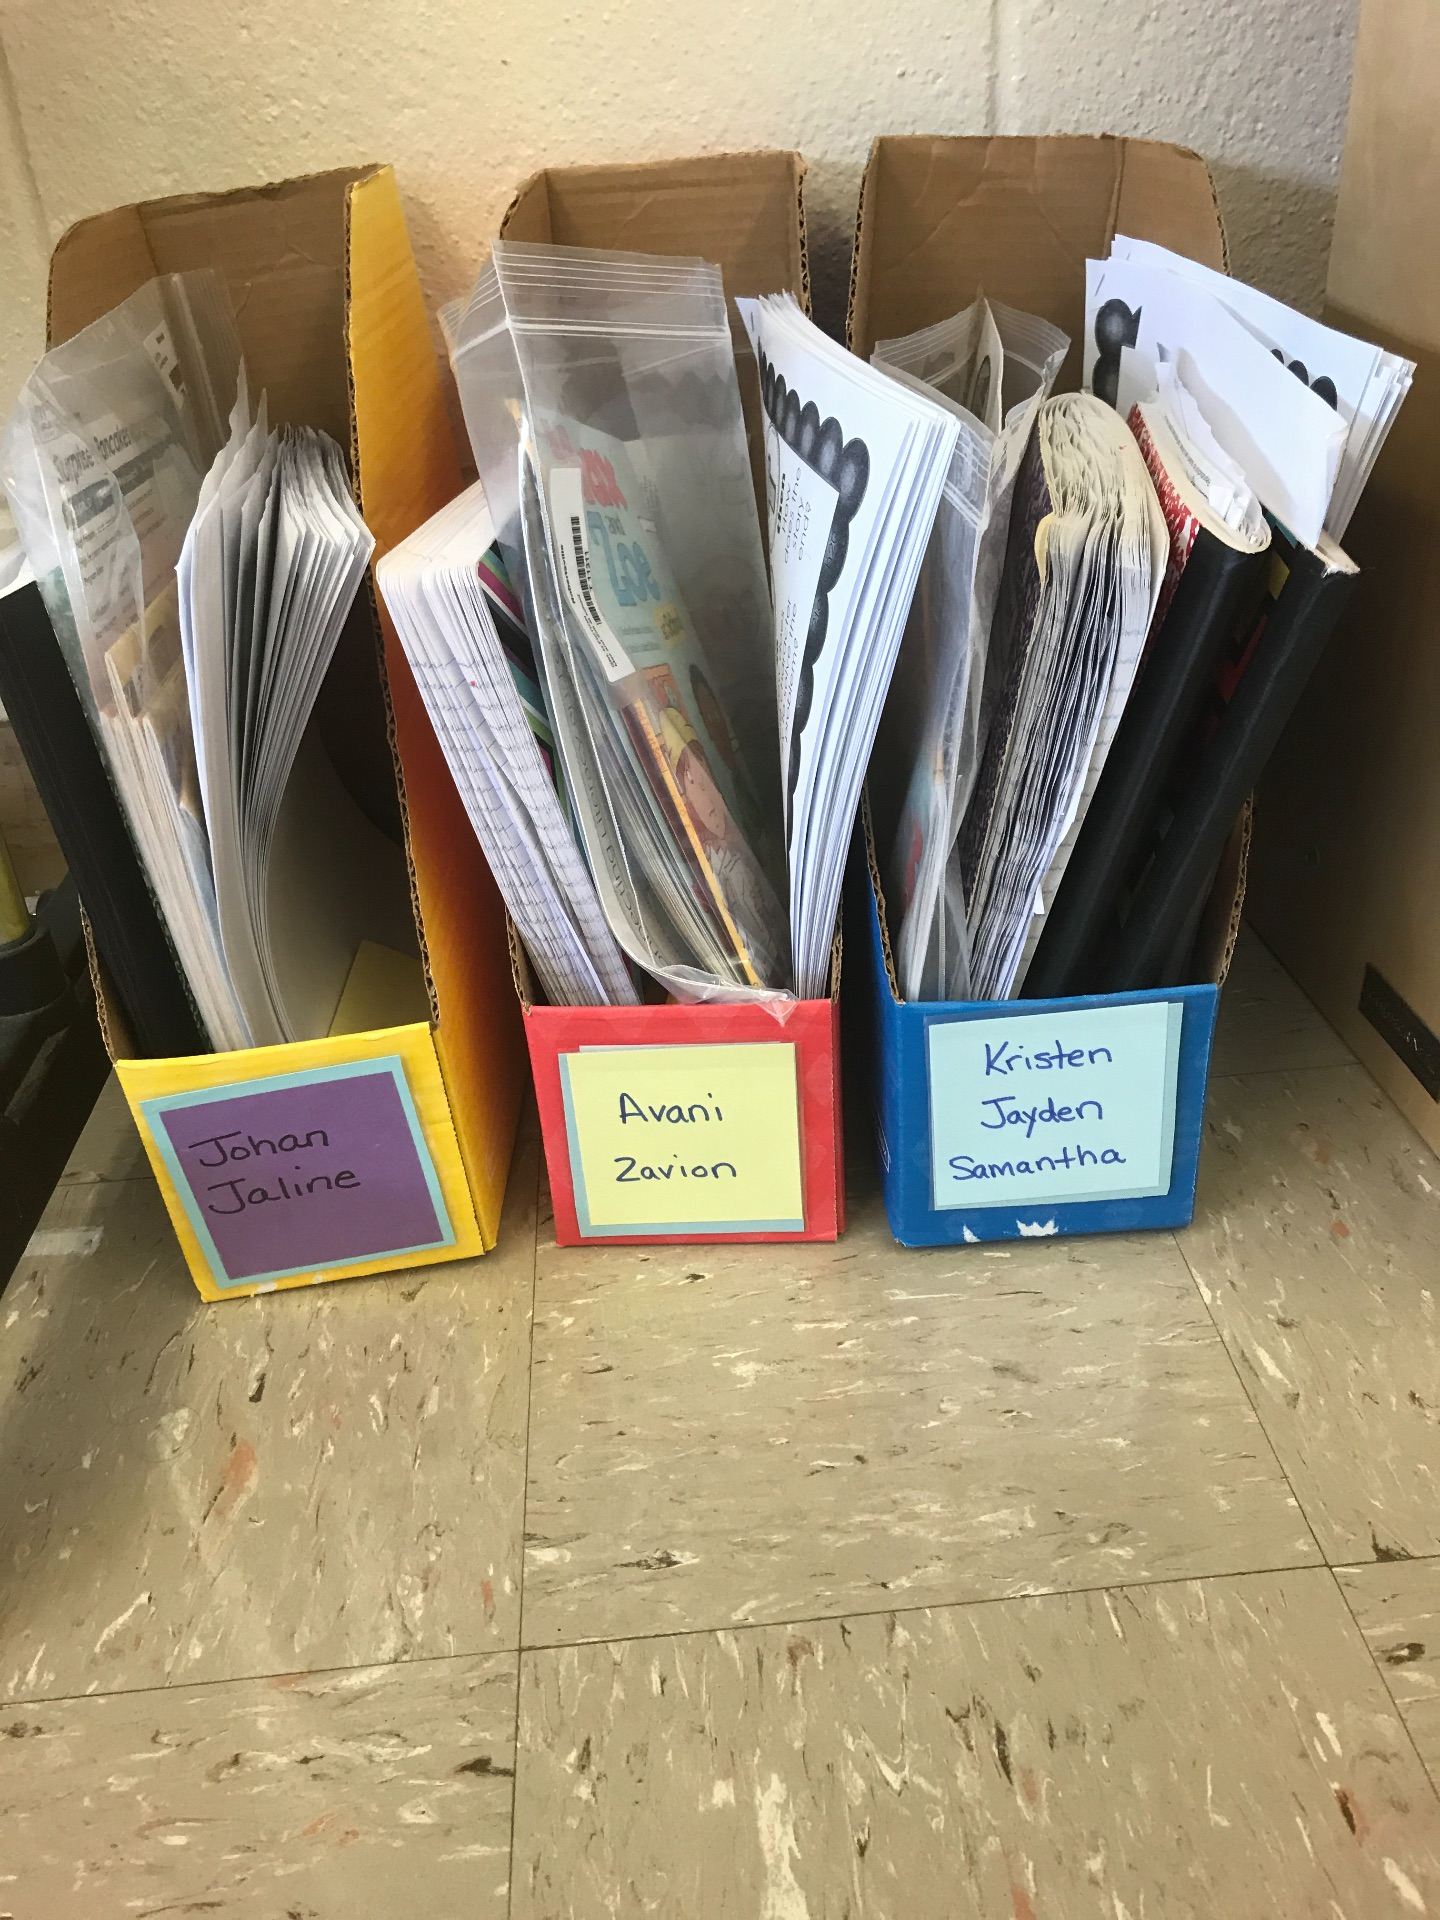
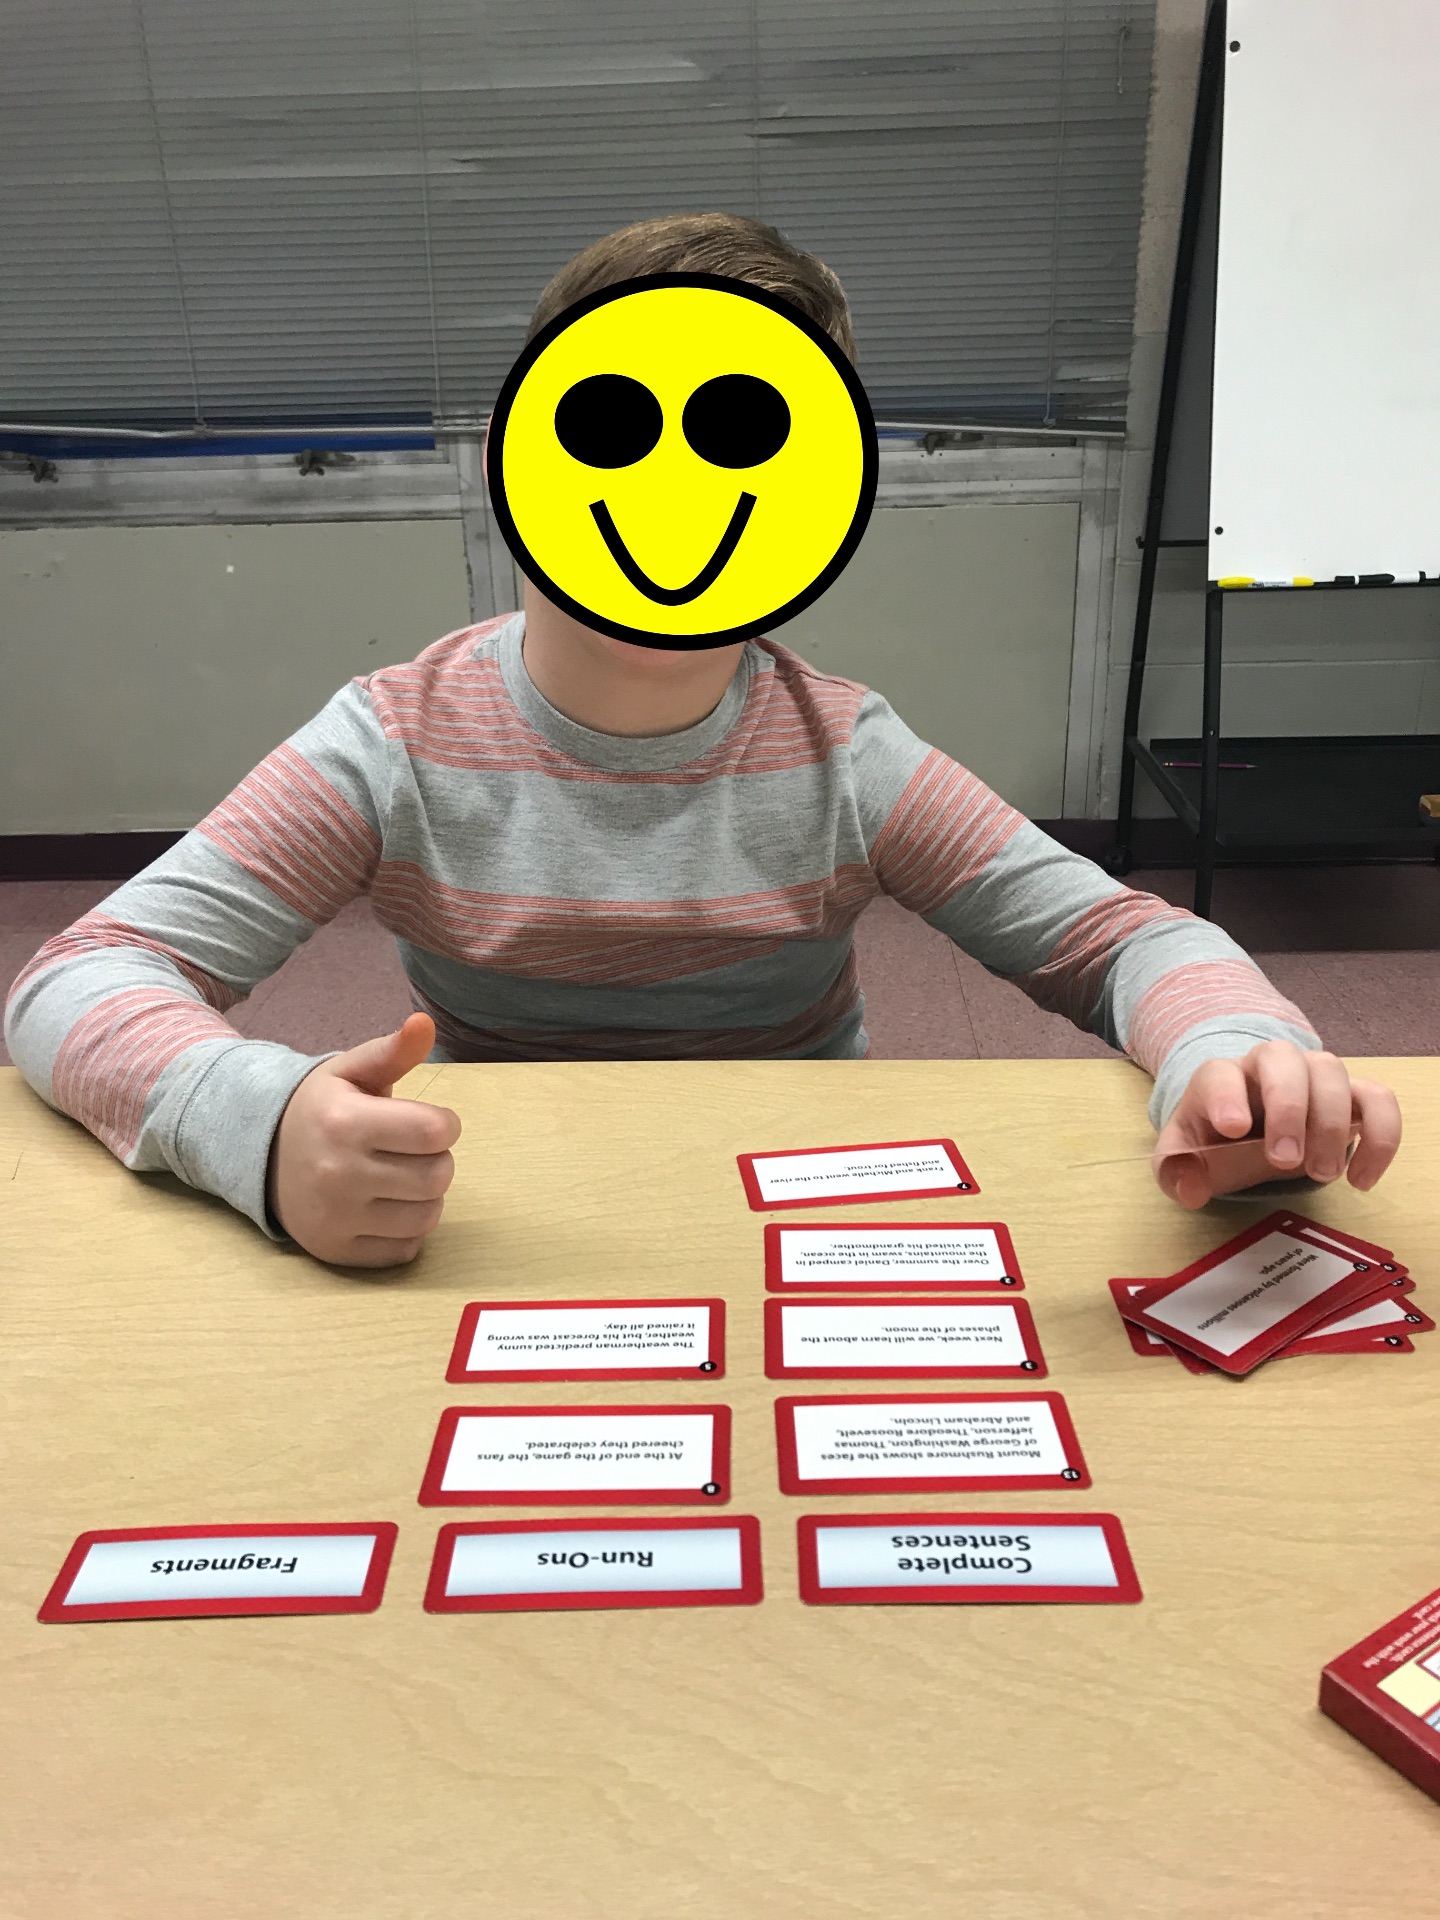
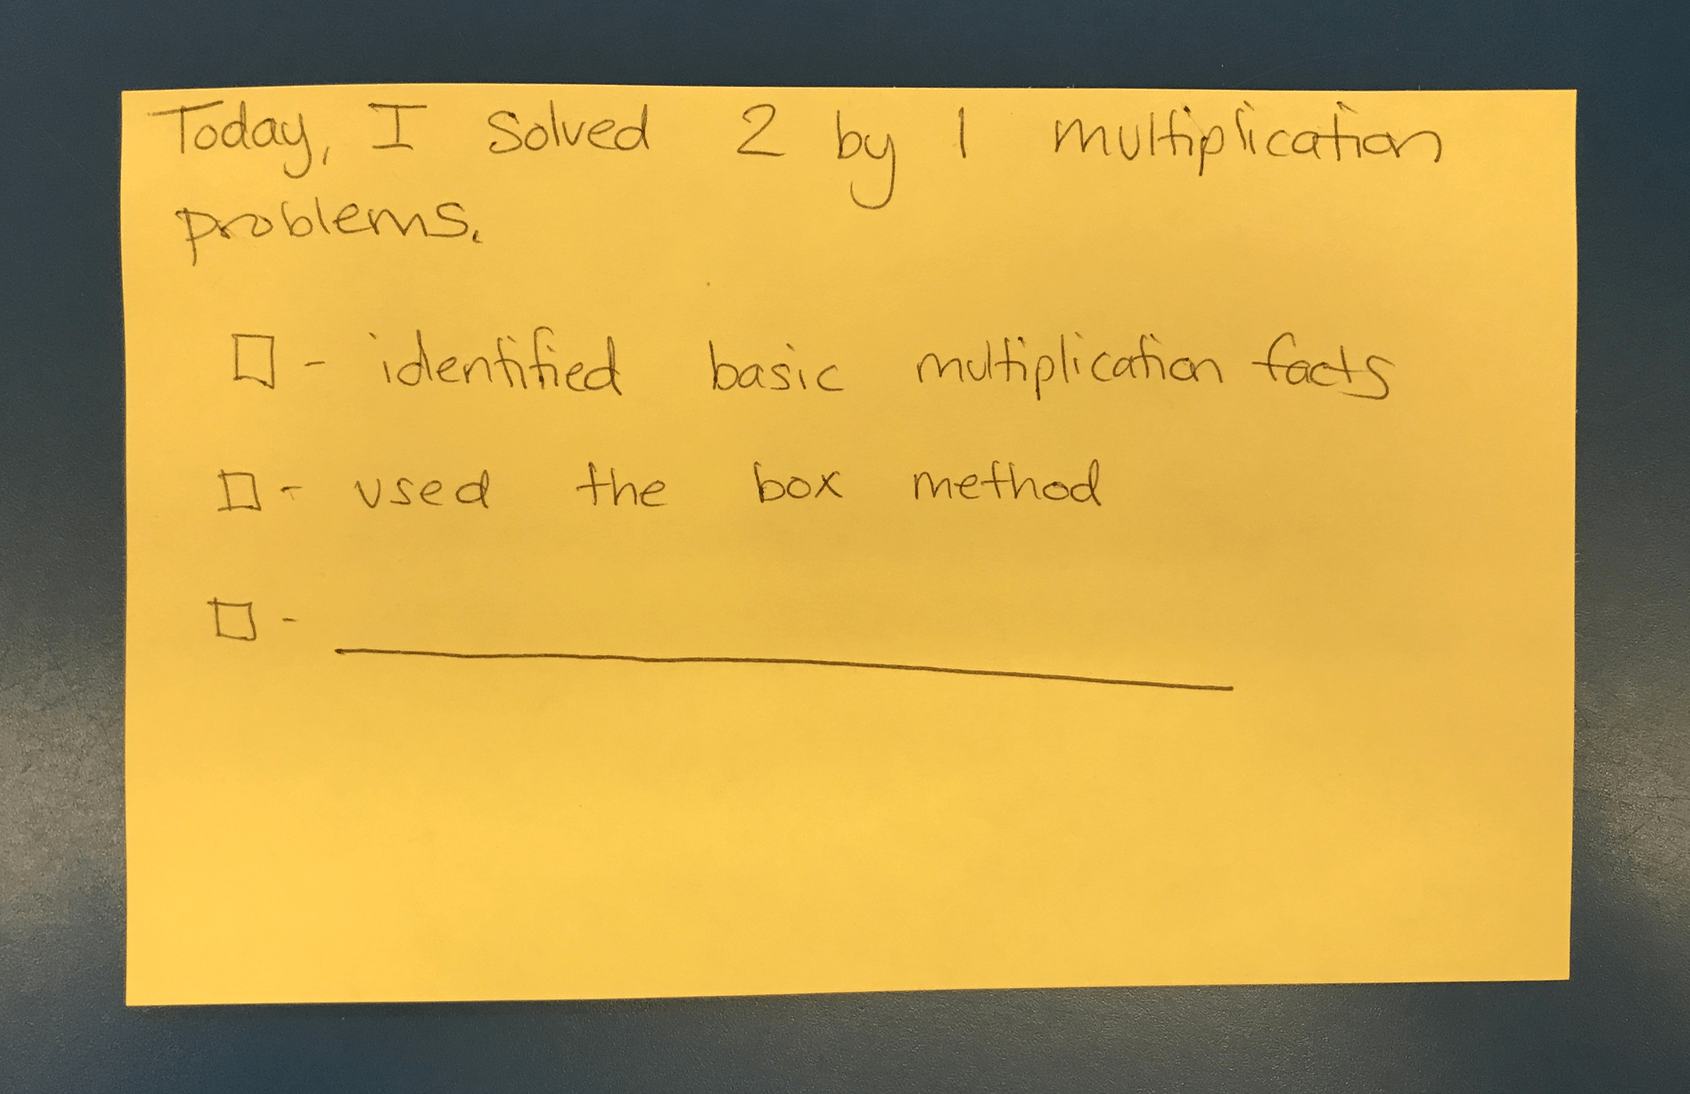
  Students take turns sharing in their groups. After students read through the yellow objective card, they ask their group members “What did you do well?”. Students identify their area of strength throughout the lesson. Then students ask their group members “What do you need to work on?” Students state specific goals that they need to work on. If student responses are general, teachers provide specific feedback and tell the students to be more specific. Then, students at the teacher table clap again and say “please move to the next station”. All students at this point stop talking and move to the next station. This rotation and self-assessment piece can take place up to three to four times during one subject period, depending on the length of each center and the length of your subject period. Some examples of the cards I use are below:
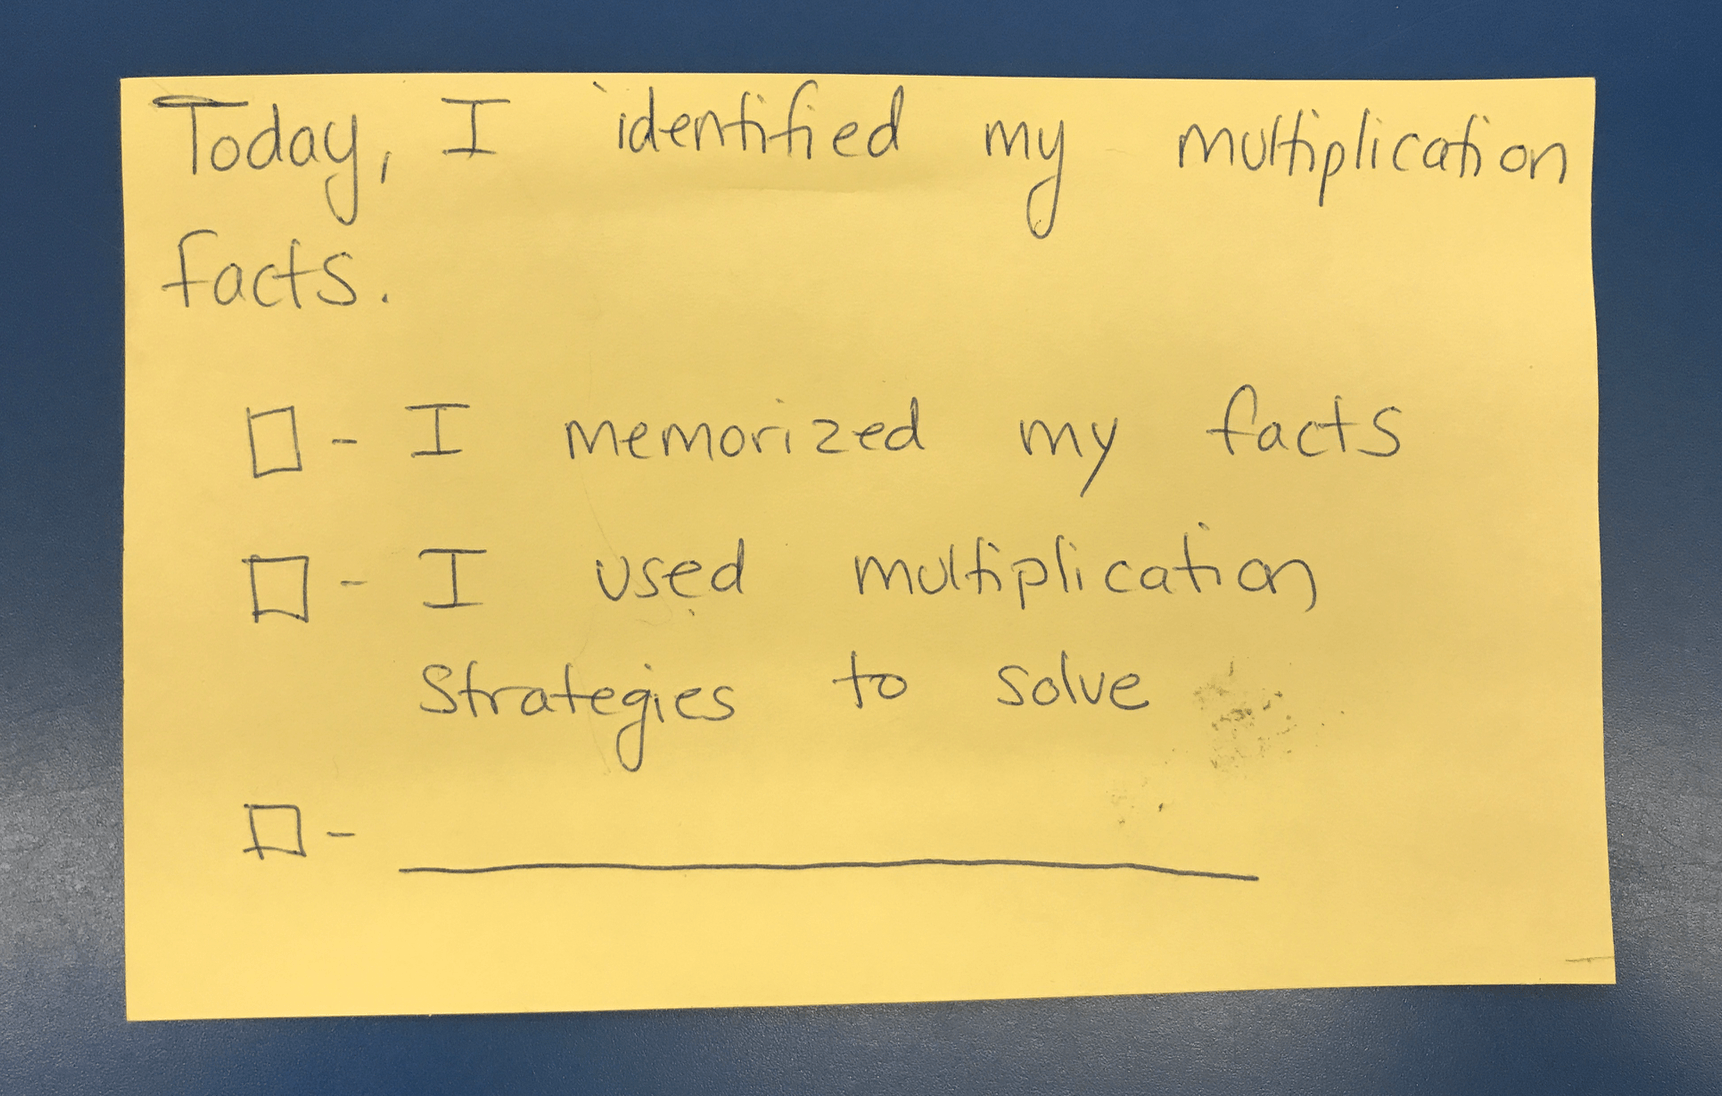
 Throughout the year, I slowly fade the level of support given on the cards although for students with disabilities, the cards can be used as visual support/language script. In the article, “Leading and Learning: Metacognition as a Tool for Improving Student Success,” Youki Terada believes that self-assessment “can close a gap that some students experience between how prepared they feel for a test and how prepared they actually are.” While testing is not my ultimate goal, I believe it shapes a learner’s brain by accurately assessing and identifying his/her strengths and weaknesses. Then, this helps the learners make goals while learning.
How to Self-Assess Your Own Learning: Teacher Tips
Reply